一、前言
Spring Boot Admin是一个开源社区项目,用于管理和监控SpringBoot应用程序。 应用程序作为Spring Boot Admin Client向为Spring Boot Admin Server注册(通过HTTP)或使用SpringCloud注册中心(例如Eureka,Consul)发现。 UI是的Vue.js应用程序,展示Spring Boot Admin Client的Actuator端点上的一些监控。服务端采用Spring WebFlux + Netty的方式。Spring Boot Admin为注册的应用程序提供以下功能:
1
2
3
4
5
6
7
8
9
10
11
12
13
14
15
16
17
18
19
20
21
22
23
| 显示健康状况
显示详细信息,例如
JVM和内存指标
micrometer.io指标
数据源指标
缓存指标
显示构建信息编号
关注并下载日志文件
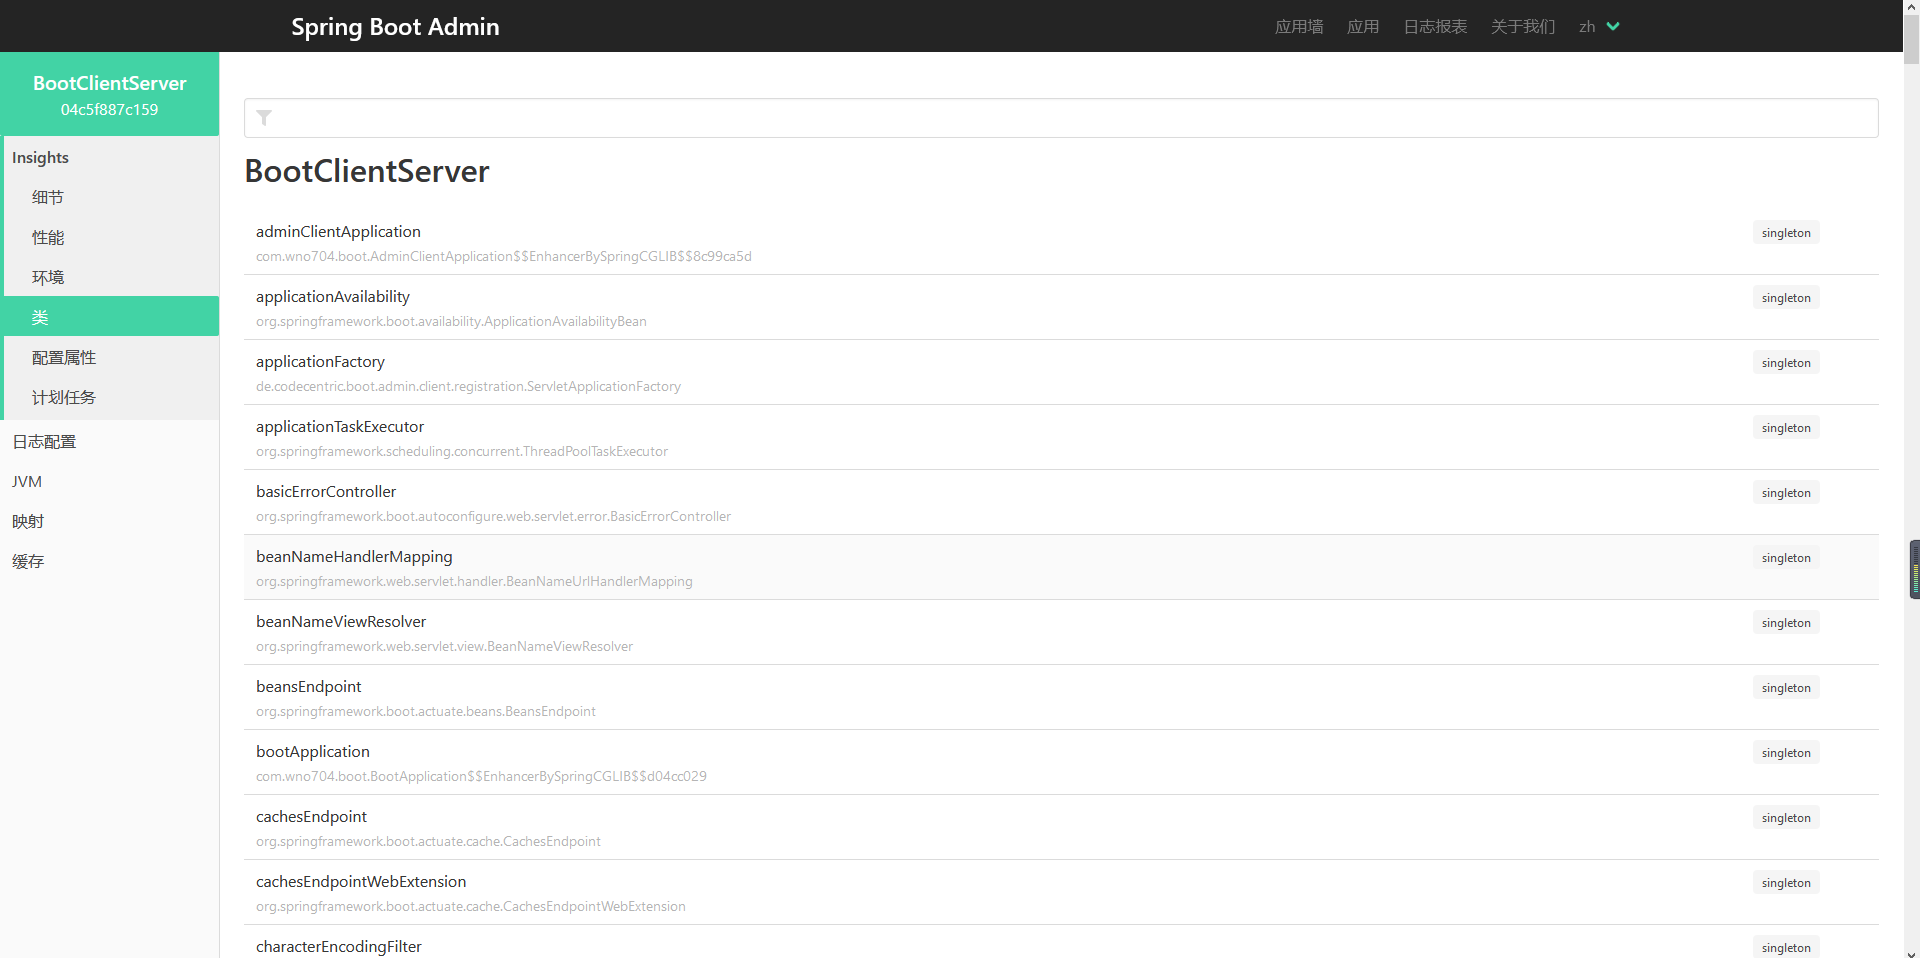
查看jvm system-和environment-properties
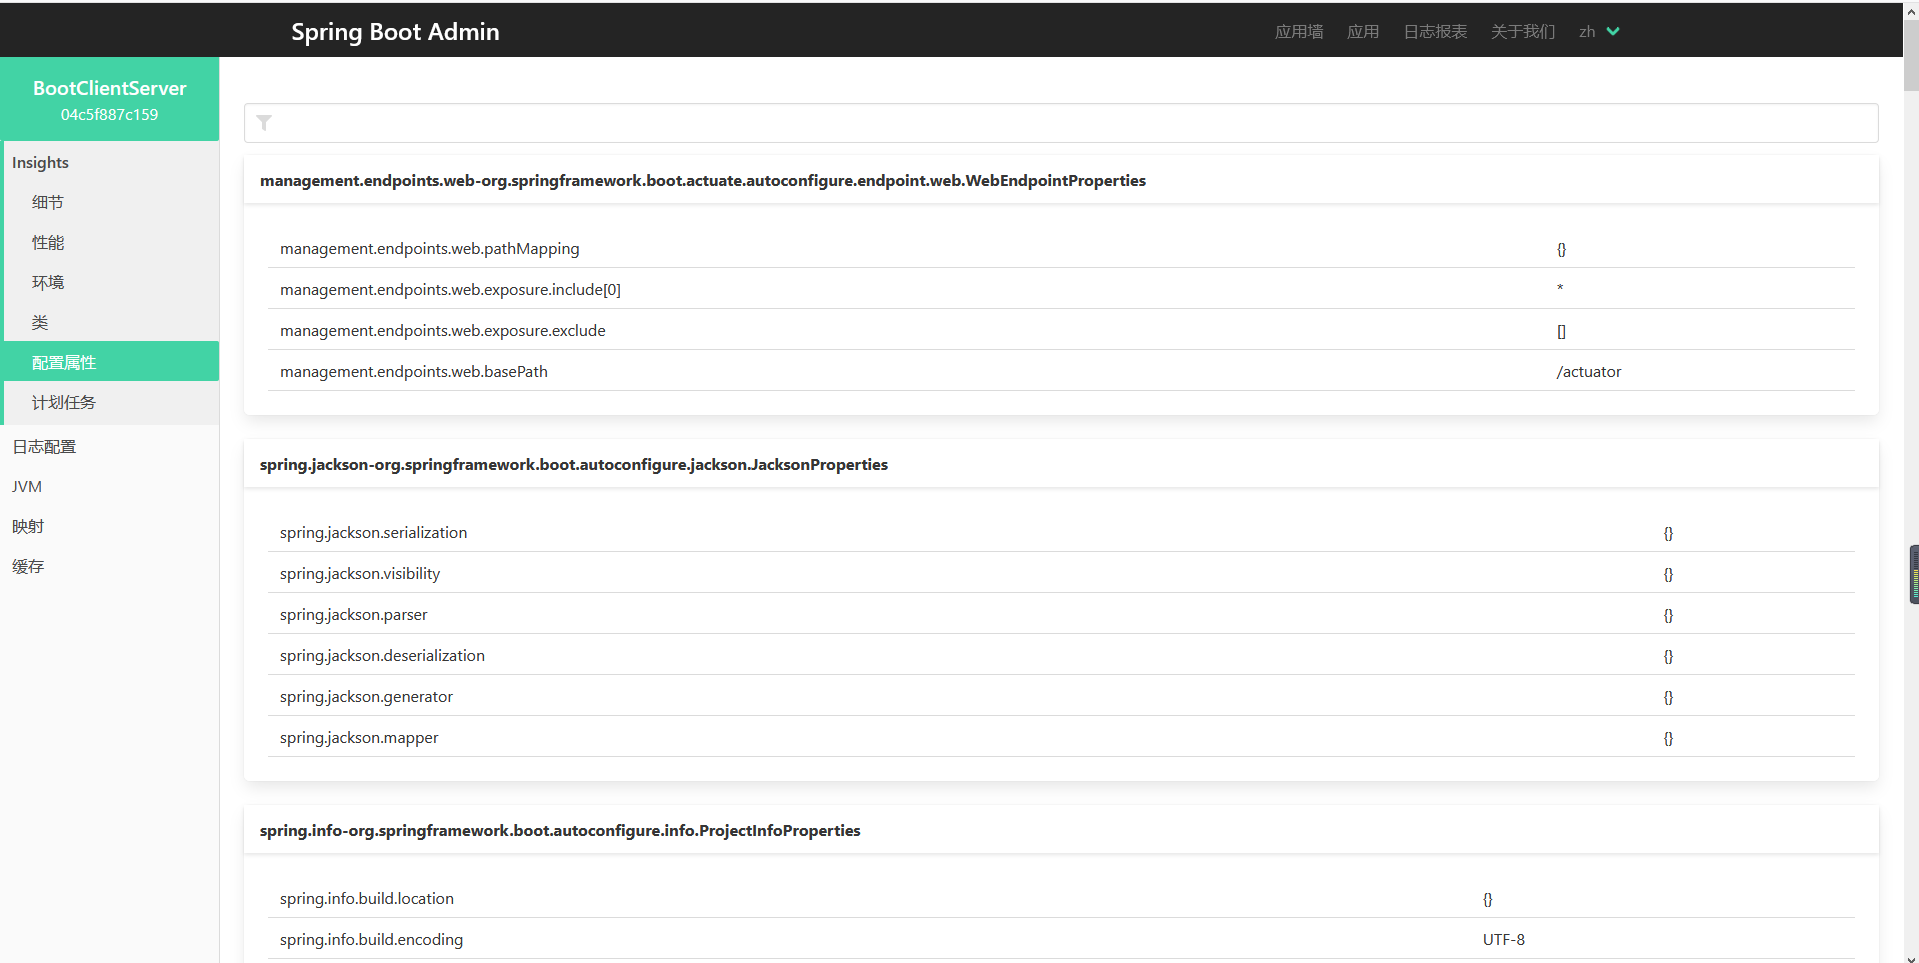
查看Spring Boot配置属性
支持Spring Cloud的postable / env-和/ refresh-endpoint
轻松的日志级管理
与JMX-beans交互
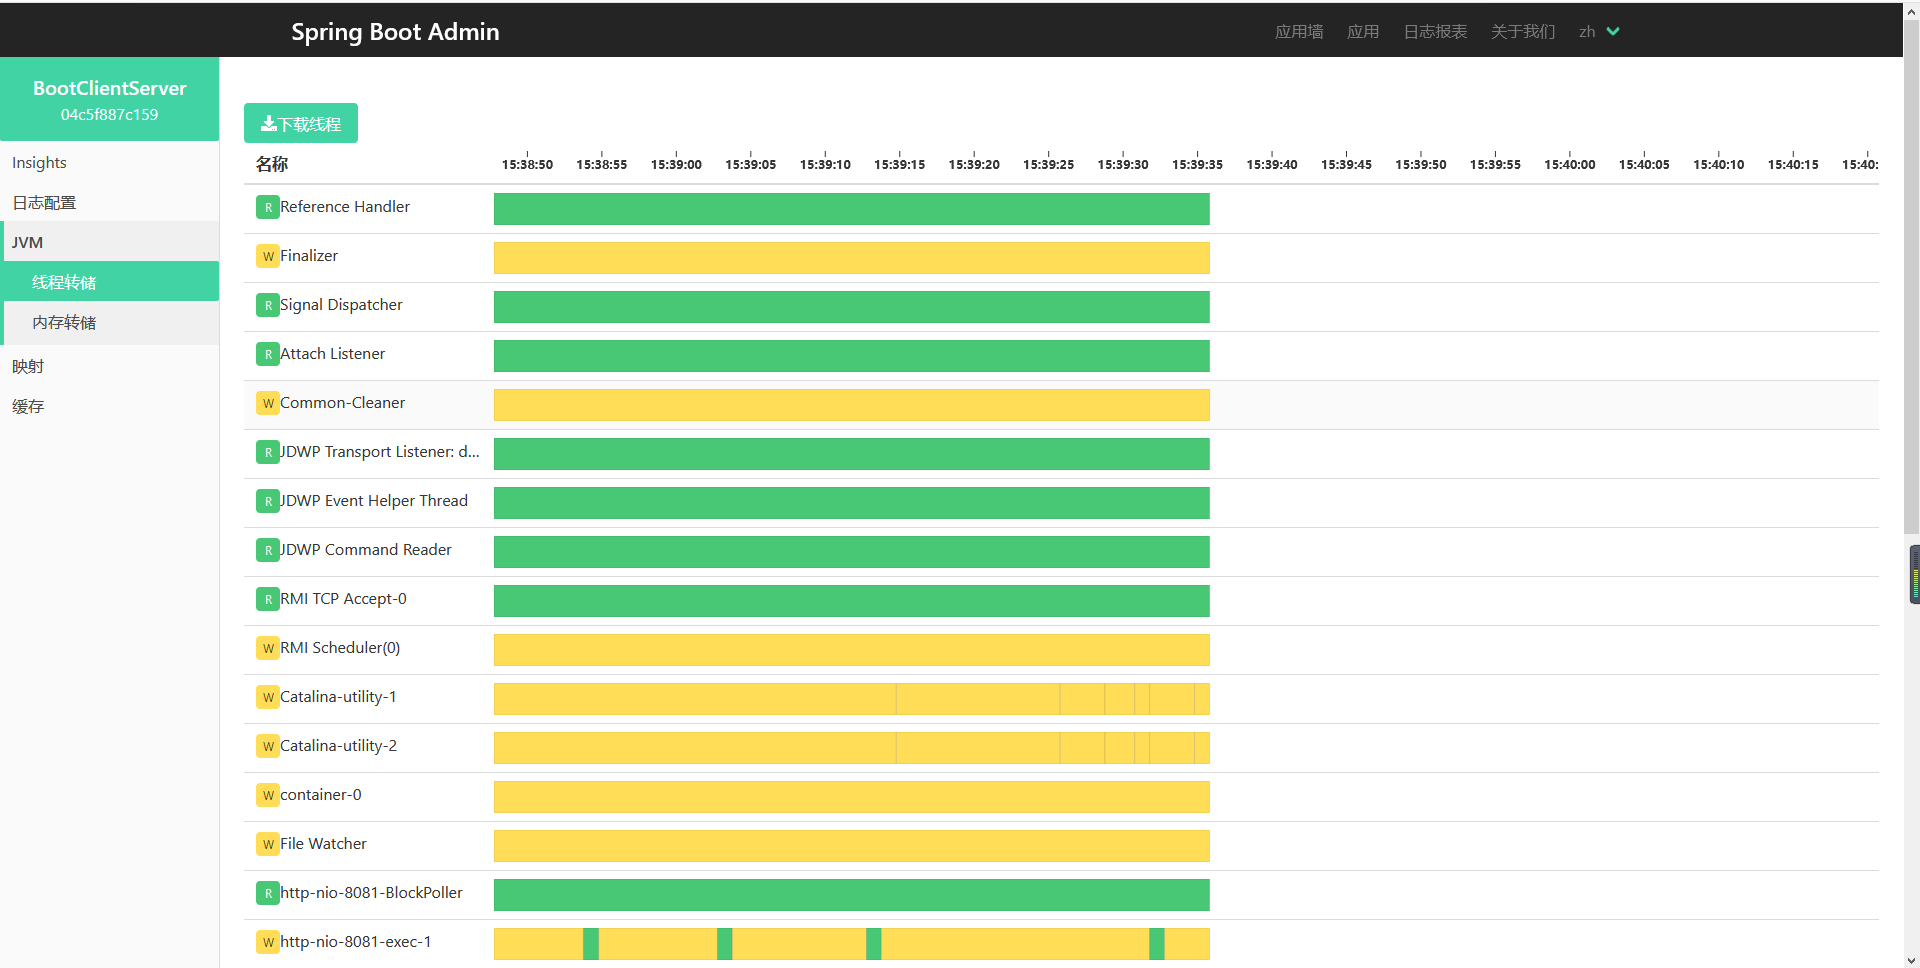
查看线程转储
查看http-traces
查看auditevents
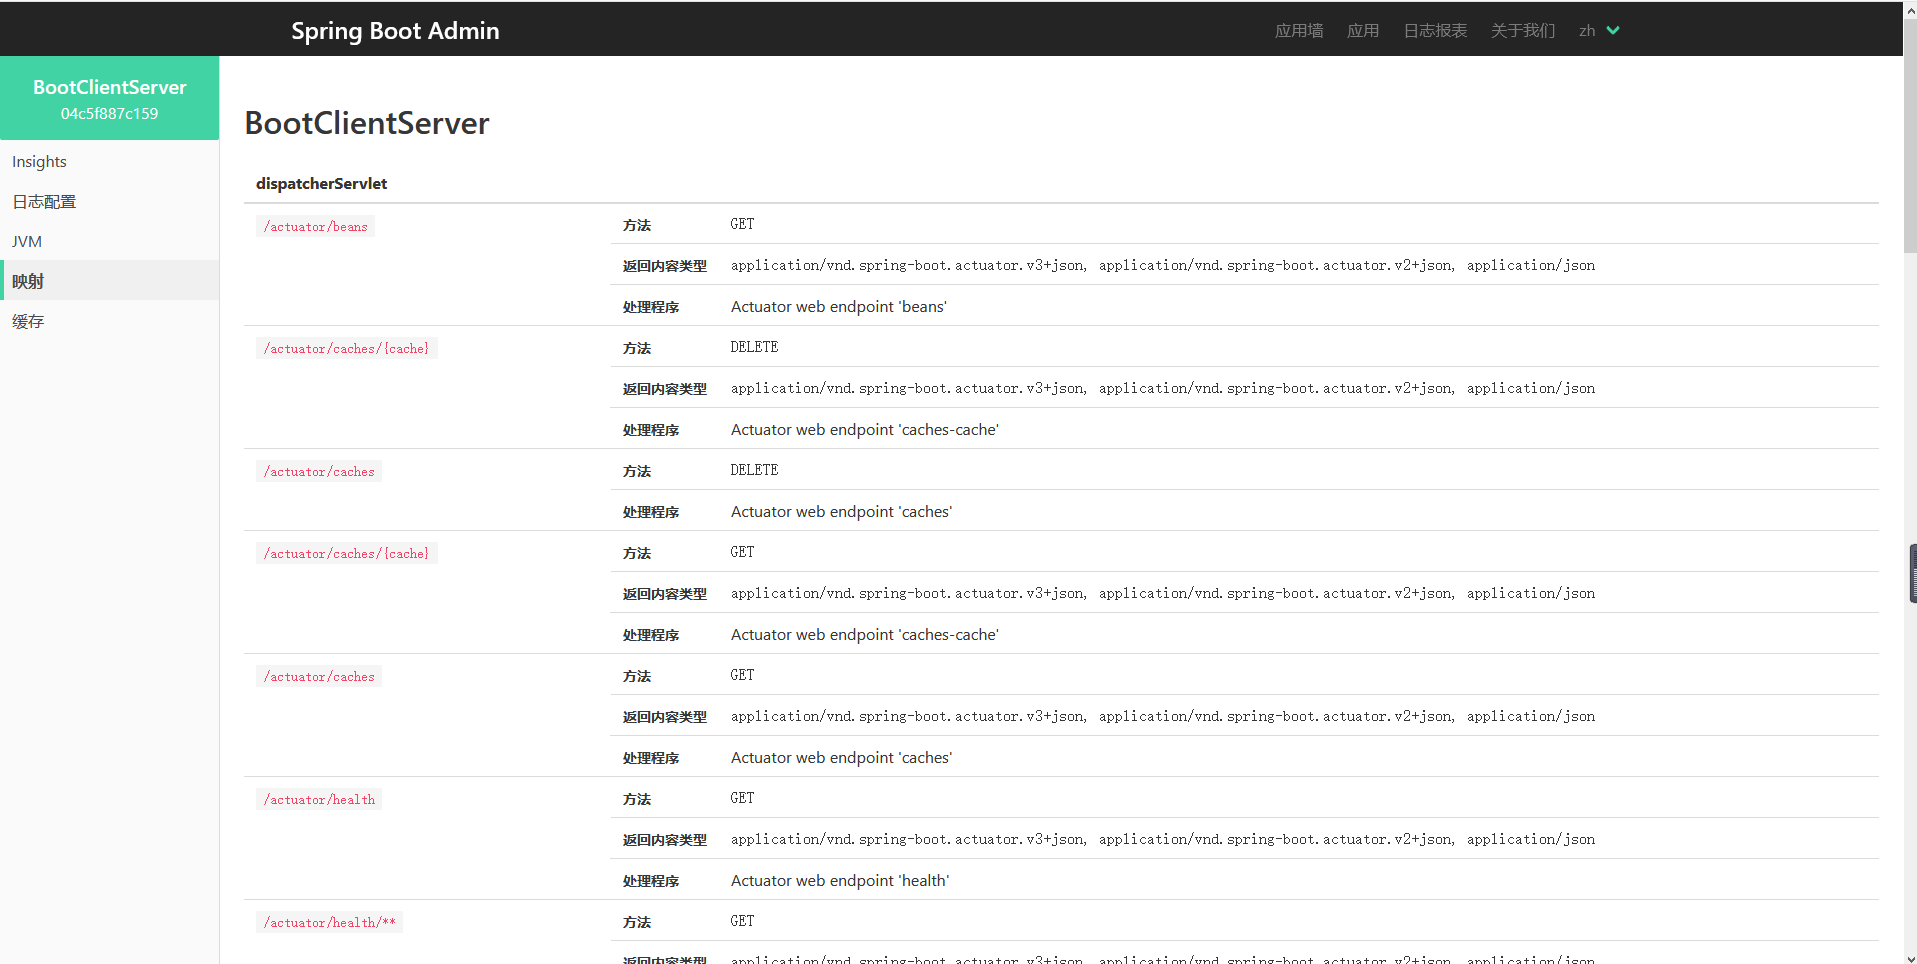
查看http-endpoints
查看计划任务
查看和删除活动会话(使用spring-session)
查看Flyway / Liquibase数据库迁移
下载heapdump
状态变更通知(通过电子邮件,Slack,Hipchat,......)
状态更改的事件日志(非持久性)
|
二、admin-server
2.1 引入依赖
1
2
3
4
5
6
7
8
9
10
11
| <dependency>
<groupId>org.springframework.boot</groupId>
<artifactId>spring-boot-starter-web</artifactId>
</dependency>
<!-- https://mvnrepository.com/artifact/de.codecentric/spring-boot-admin-starter-server -->
<dependency>
<groupId>de.codecentric</groupId>
<artifactId>spring-boot-admin-starter-server</artifactId>
<version>2.2.4</version>
</dependency>
|
注意: 由于 Spring Boot 版本使用的是 2.2.x,Spring Boot Admin Server 的版本也要用 2.2.x,千万别乱搞!Admin Client也是一样。
2.2 配置application.yml
1
2
3
4
5
6
7
8
| server:
port: 8080
#servlet:
# context-path: /admin-server
spring:
application:
name: BootAdminServer
|
2.3 启动类增加@EnableAdminServer
修改启动类,增加@EnableAdminServer,具体如下:
1
2
3
4
5
6
7
8
9
| @SpringBootApplication
@EnableAdminServer
public class AdminServerApplication {
public static void main(String[] args) {
SpringApplication.run(AdminServerApplication.class, args);
}
}
|
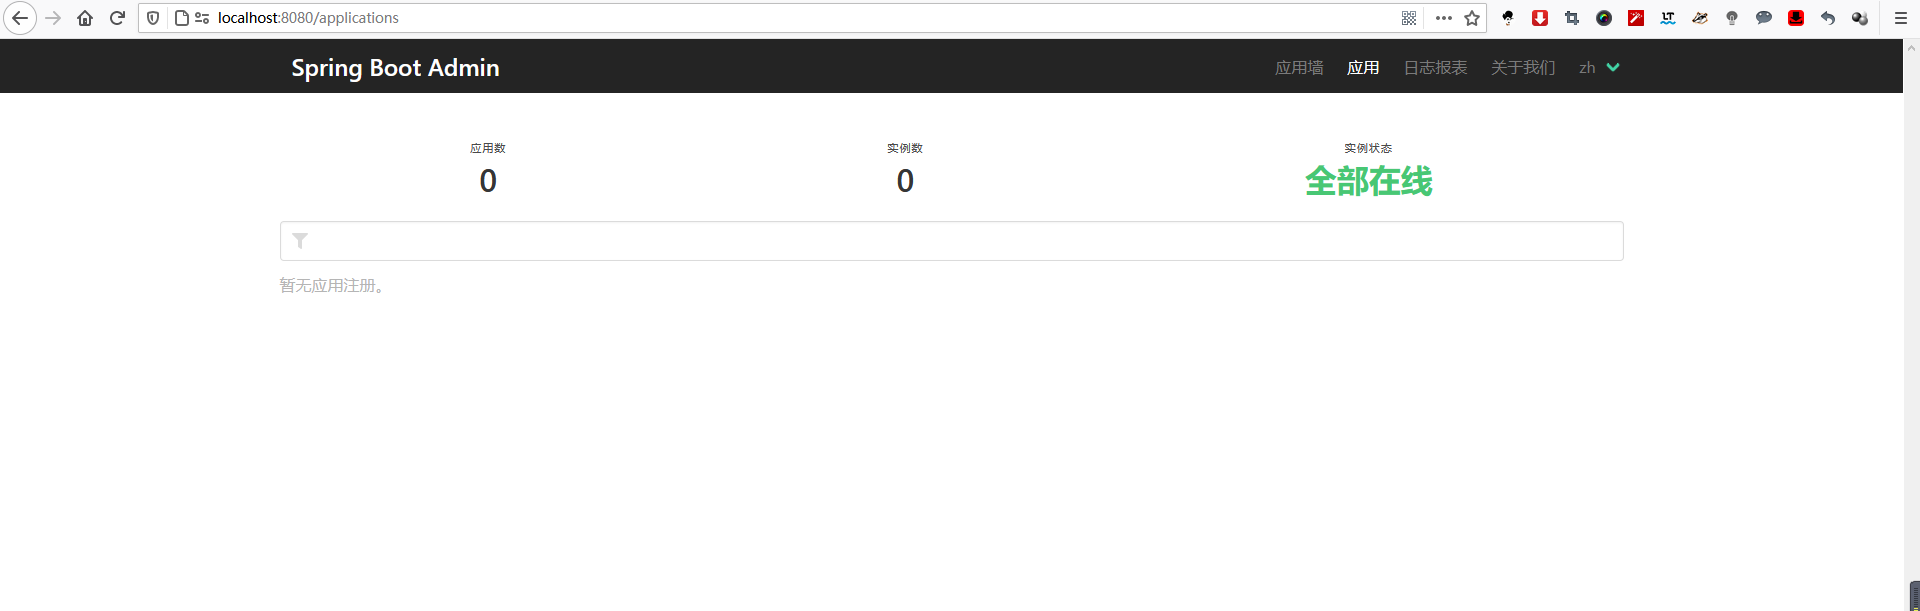
2.4 启动服务端
启动服务,然后访问 http://localhost:8080
![]()
三、admin-client
3.1 引入依赖
1
2
3
4
5
6
| <!-- https://mvnrepository.com/artifact/de.codecentric/spring-boot-admin-starter-client -->
<dependency>
<groupId>de.codecentric</groupId>
<artifactId>spring-boot-admin-starter-client</artifactId>
<version>2.2.4</version>
</dependency>
|
3.2 配置application.yml
1
2
3
4
5
6
7
8
9
10
11
12
13
14
15
16
17
18
19
| management:
endpoints:
web:
exposure:
include: '*'
endpoint:
health:
show-details: always
server:
port: 8081
spring:
application:
name: BootClientServer
boot:
admin:
client:
url: http://localhost:8080
|
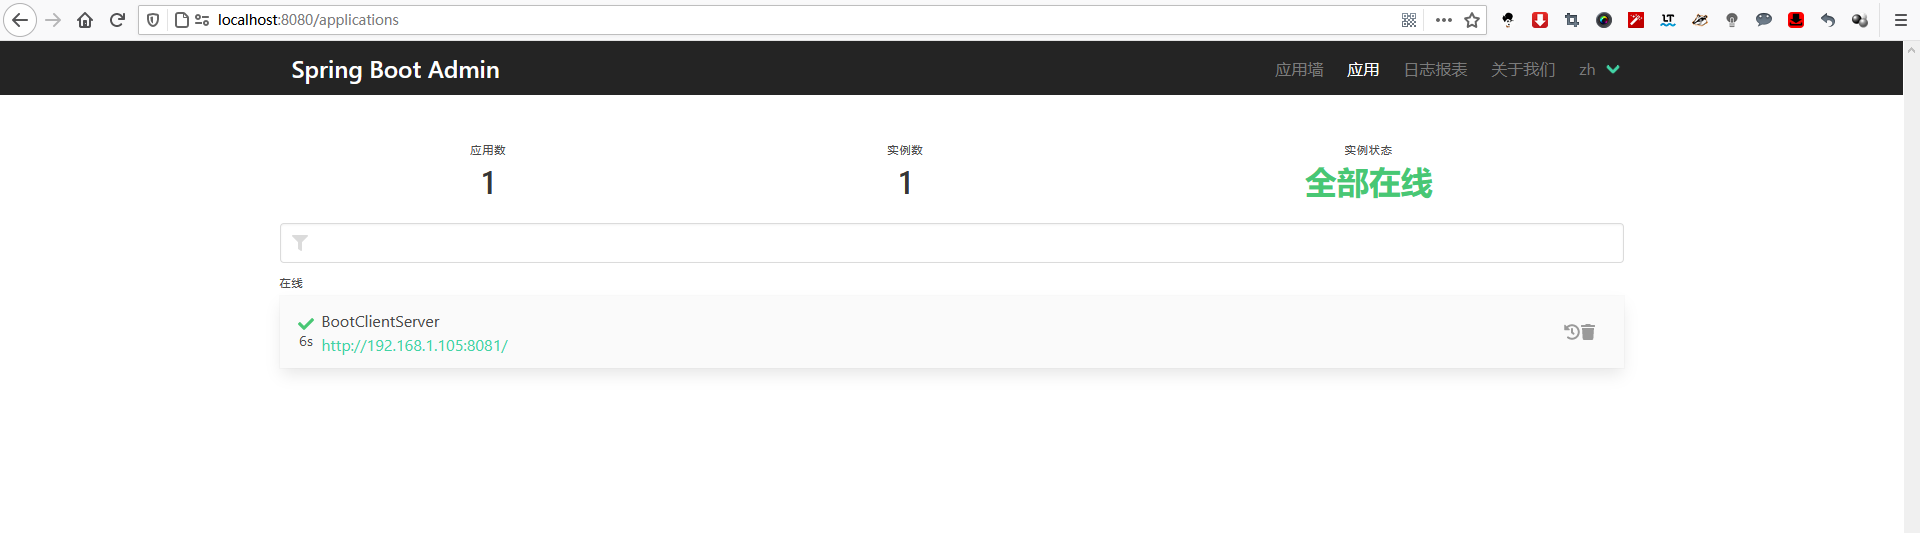
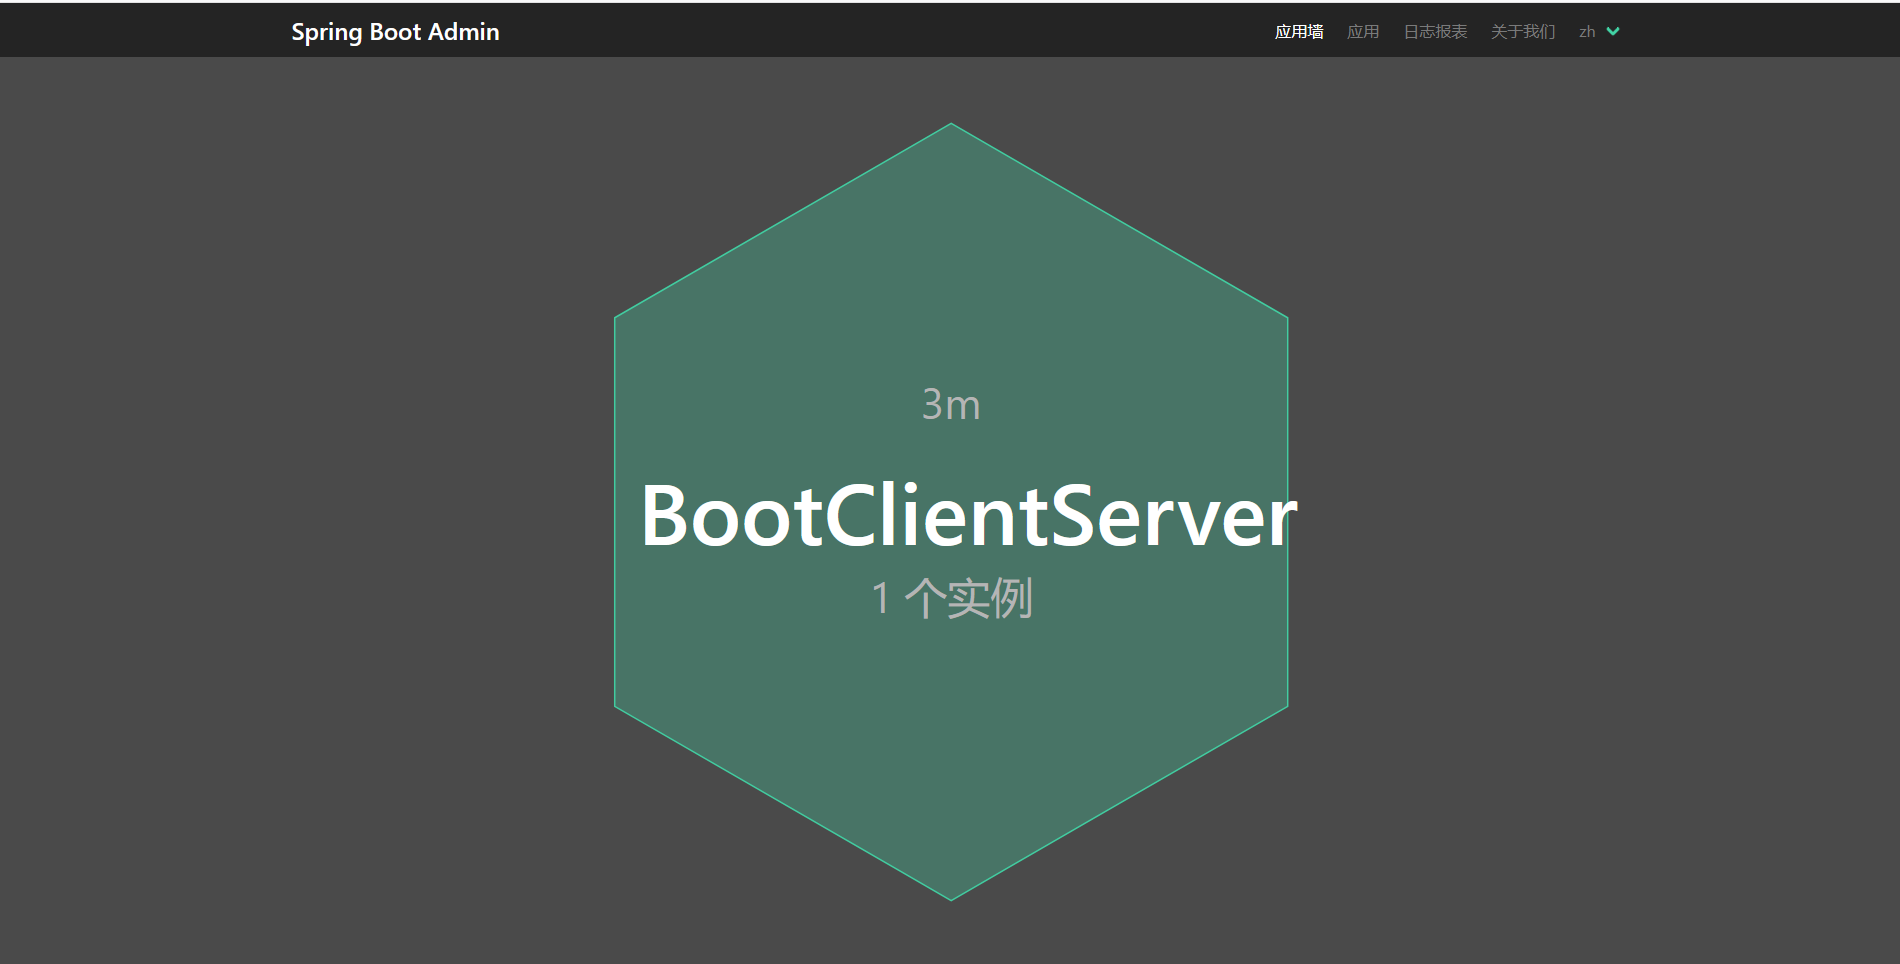
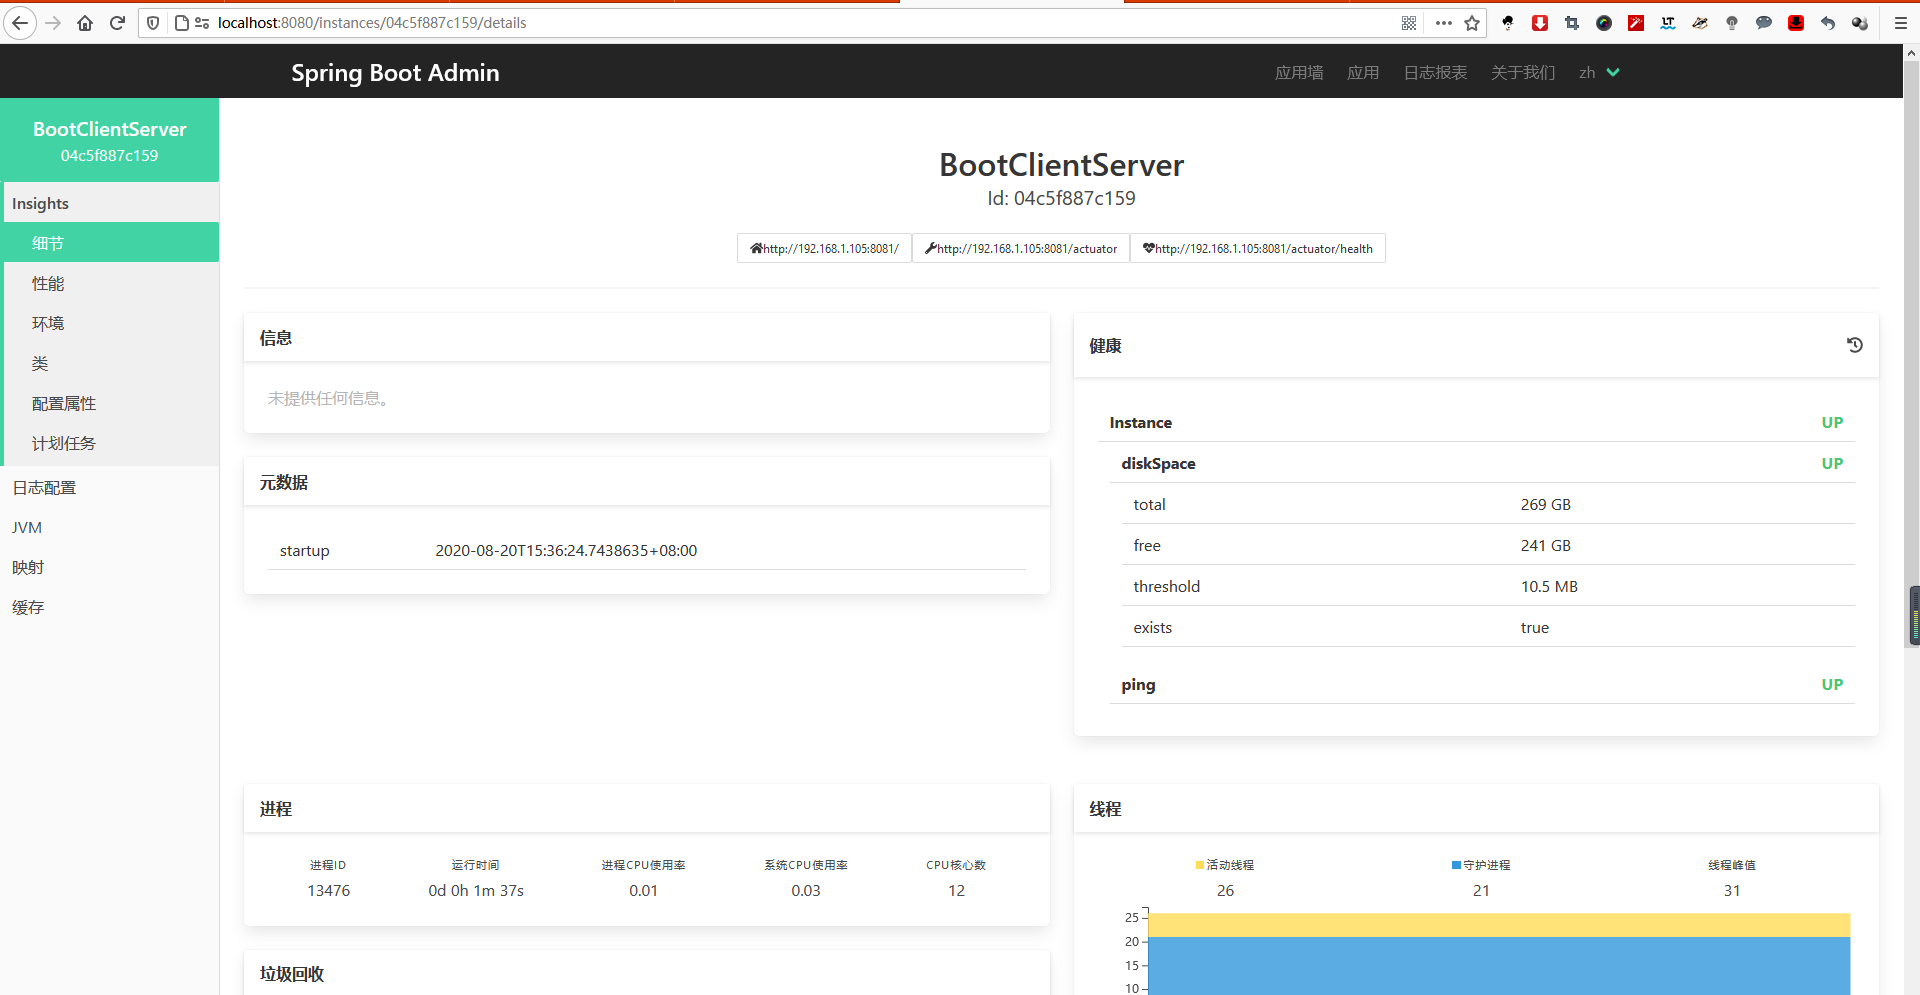
3.3 启动客户端
启动服务,然后访问服务端 http://localhost:8080
![]()
![]()
![]()
![]()
![]()
![]()
![]()
四、辅助功能
4.1 添加邮件预警
需要在客户端yml里配置更为详细的信息:
1
2
3
4
5
6
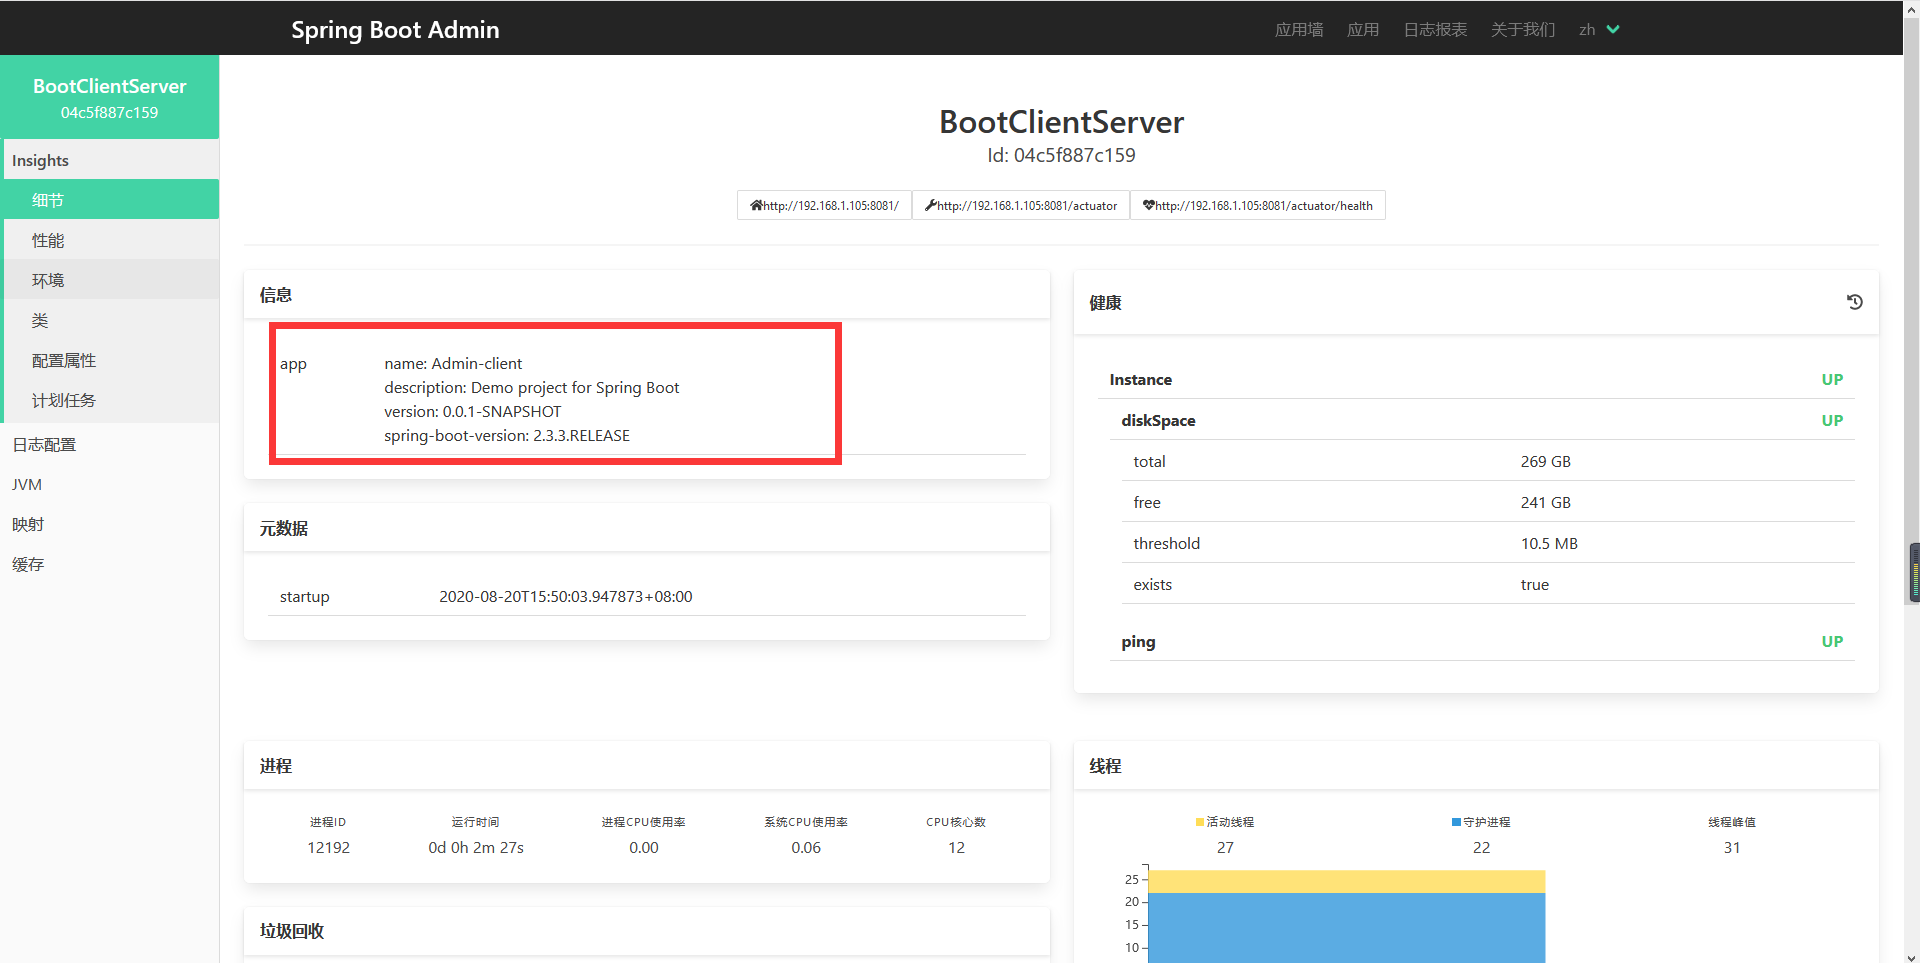
| info:
app:
name: "@project.name@"
description: "@project.description@"
version: "@project.version@"
spring-boot-version: "@spring-boot.version@"
|
具体服务端监控到信息如下图:
![]()
4.2 添加邮件预警
1>首先添加邮件依赖:
1
2
3
4
| <dependency>
<groupId>org.springframework.boot</groupId>
<artifactId>spring-boot-starter-mail</artifactId>
</dependency>
|
2>服务端的yml中配置邮件预警:
1
2
3
4
5
6
7
8
9
10
11
12
13
14
15
16
17
18
19
| spring:
mail:
host: smtp.126.com
username: wno704@126.com
password: xxx
properties:
mail:
smtp:
auth: true
starttls:
enable: true
required: true
boot:
admin:
notify:
mail:
from: wno704@126.com
to: wno704@qq.com
|
邮件的具体使用方法可参考: 《使用Spring Boot发送邮件》
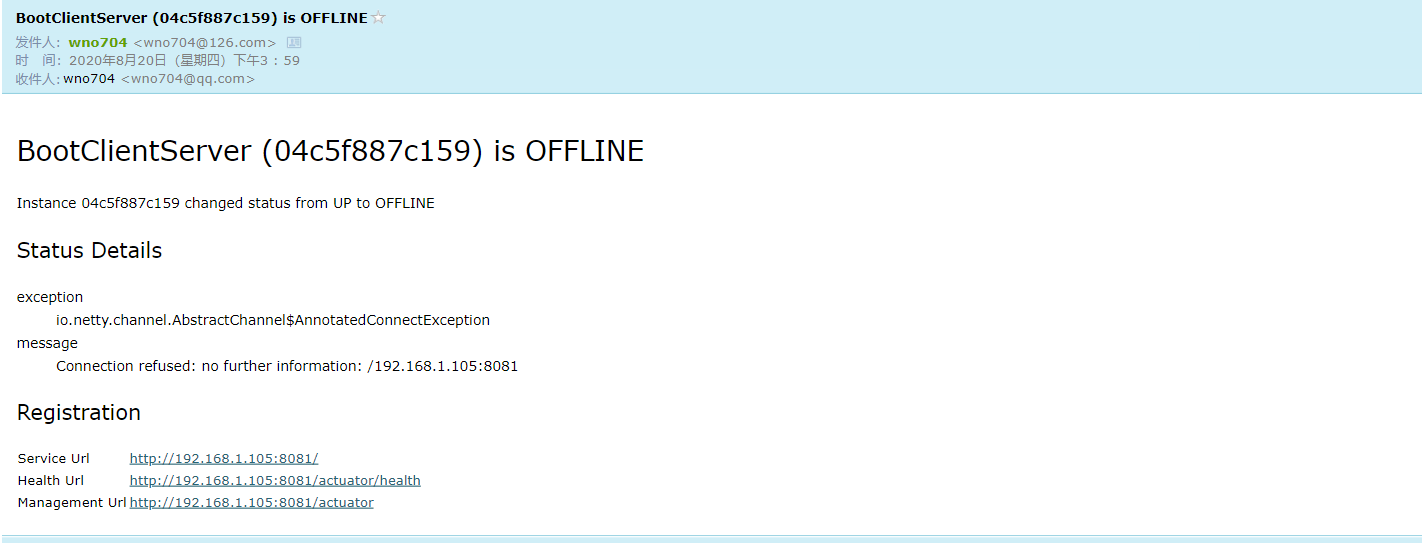
3>当被检测的应用关停的时候,收到如下邮件:
![]()